
All Acts - Any Difficulty
This route is for Patch 5 and below. Patch 6 introduces several fixes that will change parts of the route or even make some things straight up impossible. Patch 6 routing is actively being made in our Discord server. In the meantime, you can check the Downpatching guide if you already updated to Patch 6.
You need to use Time Without Loads in Livesplit. The load removal tool is accessible directly in Livesplit : in the Edit Splits settings, after selecting the game to Baldur’s Gate 3, Livesplit should suggest to activate the Load Removal a few settings below. We suggest using it at least to start the run. Splits are up to you.
The run starts in Balanced difficulty. Difficulty will change multiple times during the run.
Main character will be referenced as Tav (default name given to a custom character)
You can run with or without Karmic Dice. It’s been thought that for Any% All Acts, using karmic dice may be slightly beneficial, but it’s very difficult to prove.
It is recommended to unbind Skip Turn from Spacebar since it won’t be useful, and this way you can mash cutscenes with both Space and RMB.
Optimal dialogue options will be put between [brackets]. When actions need to be done with a specific character, the line will start with the character's name, underlined. You shouldn't need to change character again until mentioned.
For level ups, only important choices are listed below. If you need to pick anything to validate the level up, choose whatever.
Footnotes provide additional details, or backups, that may answer some of your questions already :)
Character creation
- Custom origin
- Deep Gnome or Lightfoot Halfling1 Wizard
- Cantrips : Minor Illusion, whatever else
- Spells : Fog, Enhance Leap, Feather Fall, Chrome Orb, Magic Missile, whatever else
- Background : Criminal or Urchin2
- Stats : 17 Str, 16 Dex, 8 Con, 15 Int, 8 Wis, 8 Cha
- Prepare : Enhance Leap, Chrome Orb, Magic Missile
Nautiloid
Skip intro cutscene
Enhance Leap, then jump to the next room.
Guide for Nautiloid skip
With Gnome or Halfling, you will need Triple Dash to be able to reach the transponder : once you’re in position to do the skip, use dash, turn on turn based mode, dash again, do the skip (don’t forget to mash RMB as quickly as possible between the 2 jumps), and once in battle, dash again before you start moving. If done correctly you should be able to cover the distance to the transponder in one turn.
Act 1
Setup node for Fling to High Road3
After setup, Enhance Leap and meet Shadowheart.
Talk to Shadowheart [Mash 1], recruit her then kill her with Magic Missile then melee attacks (Ctrl + click on her)
Loot all her stuff and pick her up in Tav’s inventory, go to camp.
In camp, jump to boxes near the river, pick both4 and put Shadowheart inside one5 .
Cast Fire Orb next to you, turn on turn based mode, drop the box in the fire6 then fling it. Once Shadowheart’s portrait disappears on the left side of the screen, turn off turn based mode. If done correctly7 , you should get a few exp points and the game will automatically turn to night.
Shadowheart: leave camp. Skip cutscene and go to High Road.
Shadowheart8 : In camp, kill Tav. Turn on turn based mode, loot him and pick him up9 .
In Mountain Pass, revive Tav.
Tav: Change prepared spells and pick Feather Fall and Fog instead of Chrome Orb and Magic Missile.
Enhance Leap + Feather Fall, jump towards Lae’Zel to recruit her [3], then ungroup10 .
Jump over the cliff behind Lae'Zel and talk to Esther [3] until you can trade with her. Sell all the stuff from Shadowheart's inventory (except the box) and buy an invisibility potion. If she doesn't sell one, you can level up with one character and shop again until you find one. Just make sure you respect the necessary choices for each level up (provided later when they're supposed to be done)
Inventory management :
- Box in Tav
- Invisibility potion in Lae'Zel
Jump back to Lae'zel, then to the tree trunk. Cast fog on the crossway, jump inside11 , then jump west as far as you can. If done correctly this should skip the battle against the undeads. You can then jump directly to the entrance of Act 2.
Act 2
Overworld
Group all characters.
Lae'Zel: kill Shadowheart.
Tav: Change prepared spells to pick Chromatic Orb instead of Fog. Loot and pick Shadowheart. Setup Oubliette Shadowboxing.
Oubliette
Pick Shadowheart in Tav's inventory. Turn off turn based mode.
Video guide for Braincat Jump
After the braincat jump, turn right, then first left to go to Tadpoling Centre, use the Neural Apparatus and Purge12 [2]
Jump your way back to the room with the elevator. Once on the elevator, inventory management :
- Potion of Invisibility in Shadowheart
Jump near the restoration point, drop Shadowheart, use restoration to resurrect Shadowheart. She may rant, just skip cutscene.
Activate elevator and level up characters :
Shadowheart:
- Level 2
- Double Class: Druid
- Level 3
- Subclass: Circle of the Moon
Tav:
- Level 2
- Level 3
- Spells: Misty Step, Enlarge
- Prepare: Misty Step, Enlarge
Lae'zel:
- Level 2
- Level 3
- Subclass: Champion
Change difficulty to Explorer.
Ketheric
Enter the boss room, skip cutscenes.
Buffs on Shadowheart13 : Enhance Leap, Feather Fall, Enlarge
Shadowheart: Bear Transformation, Potion of Invisibility. Jump next to the Mindflayer on the southern platform.
Tav: buff Enhance Leap, jump south so that Ketheric doesn’t spot you, cast Minor Illusion in the small red puddle to attract him down. While he’s walking, Misty Step to Nightsong. This will trigger the fight14 . Free Nightsong.
Shadowheart: jump behind Ketheric. You should deal 100+ damage and one shot him.
Second phase with Myrkul : jump back to where you were next to the Mindflayer, use Tactical view, press jump action and aim for that position with the two spots circled in red aligned :
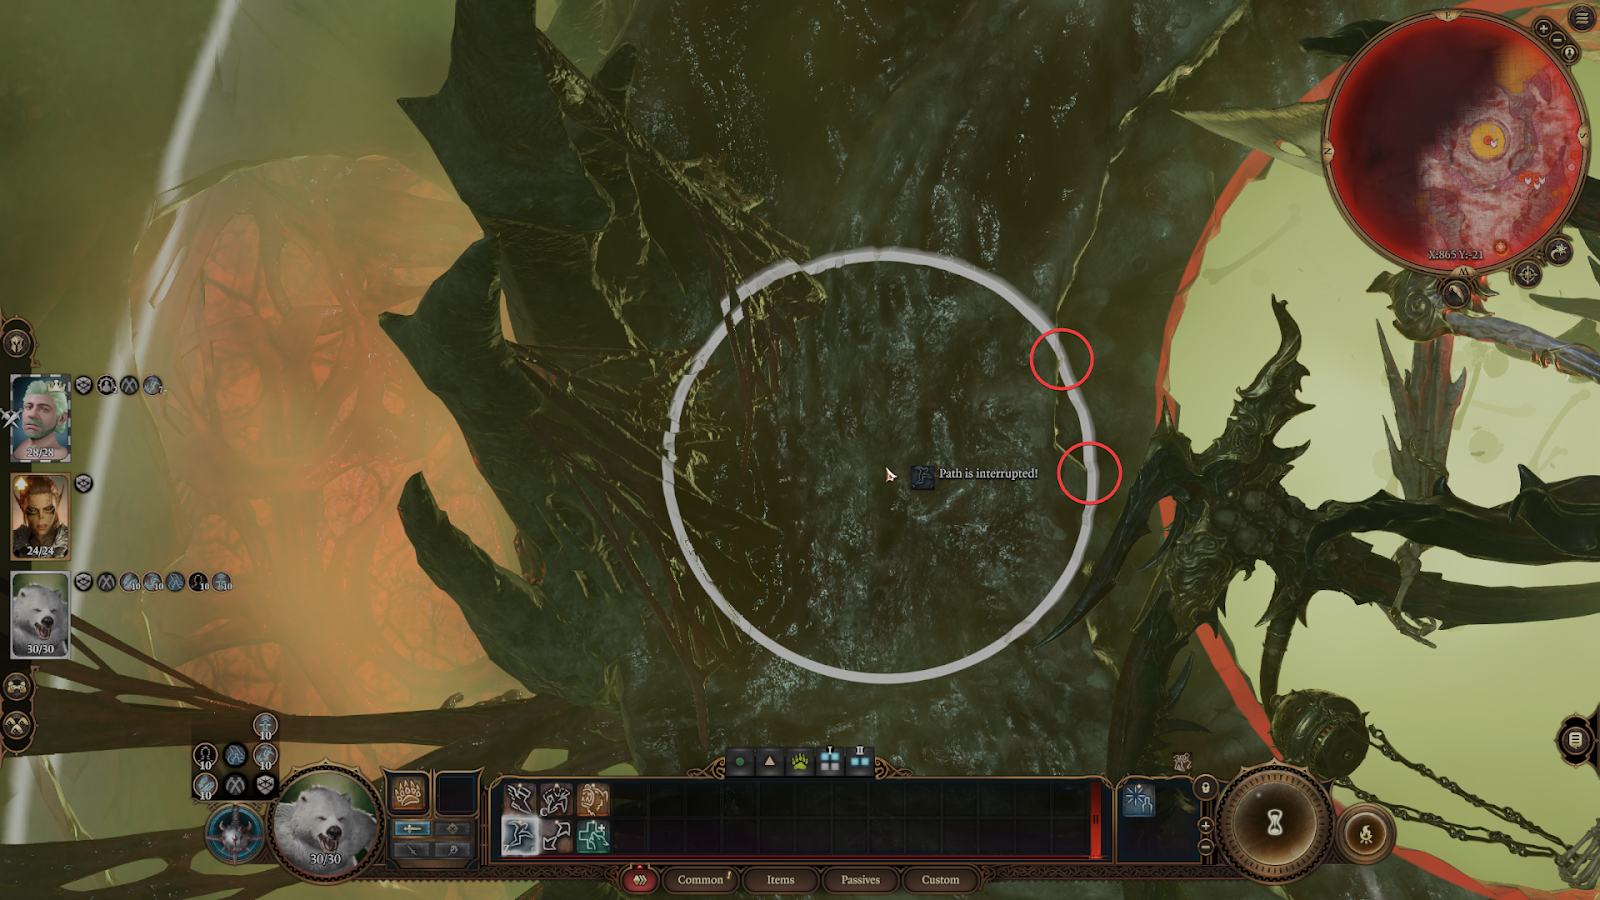
Once you’re in that position, use a clip jump (same as Nautiloid skip) to force Shadowheart to jump. This should deal 100+ damage twice and one shot Myrkul.
After Myrkul is dead, loot Ketheric. Regroup Tav with you and go to the portal.
Way to Baldur's Gate
Shadowheart: Still in bear form, move outside of Moonrise Towers towards Baldur's Gate waypoint
Tav: Talk to Jaheira to recruit her [Mash 1]
Talk to Dame Aylin and refuse her to go to camp [3 - 2]
Talk to Wulbren [3 - 3] and get ~250 Gold
Teleport to any waypoint to trigger cutscene with Guardian Angel [Mash 1]
Shadowheart: in Turn Based mode, jump on the roof of the building next to you then move as far as you can. Turn off turn based mode, and jump your way to Baldur's Gate portal15 . When you're in front of the portal to Baldur's Gate, long rest.
Jaheira: talk to Withers to reskill [3 - 2 - 3]
- Level 1: Wizard, Str 17, Dex 16, Con 15
Level up all characters.
Jaheira:
- Level 2:
- Subclass: Conjuration
- Spells: Enhance Leap, Feather Fall
- Level 3:
- Spells: Misty Step, Invisibility
- Level 4:
- Feat: Ability Improvement (+2 Str)
- Level 5
- Level 6:
- Prepare Spells: Enhance Leap, Feather Fall, Misty Step, Invisibility, Thunderwave.
- Level 7
- Level 8:
- Feat: Athlete (+1 Str)
Tav:
- Level 4:
- Spells: Invisibility, whatever else.
- Feat: Alert
Shadowheart: Accept
Lae'Zel:
- Level 4:
- Feat: Alert
Shadowheart: rest then leave camp. Take portal to Baldur's Gate.
Gith Intermission
Tav: Jump in chasm
Shadowheart: Long rest
Gith fight:
Lae'Zel: Cast Mage Hand then Action Surge and Enhance Leap. Jump towards Astral Plane portal and as you walk in, spam click on Mage Hand portrait + F1 (alternate character selection between dead Tav and Mage Hand)
If successful, you'll be in Astral Plane with no cutscene playing and portal still open.
Mage Hand: Push Shadowheart until she falls in chasm. This should get rid of the cutscene status on all characters (no message box next to their portrait)
Jaheira: Move her portrait to first place in group16 . Invisibility on self. Ungroup then use portal to get out. Once outside, long rest, then click on Campfire to leave intermission.
Act 3
Gortash
Jaheira: Pick up Tav, Enhance Leap + Feather Fall, jump towards South Span Checkpoint until before the Steel Watcher. On the East path, kidnap17 Lens the Journalist then jump on the roofs to avoid Steel Watchers. Jump between stairs near the South Span of Wyrm's Crossing waypoint. Sneak behind Lens, use Pickpocket to put Tav in Lens' inventory, cast Mage Hand the farthest you can.
Mage Hand: Short rest, Hide, push Lens.
Jaheira: While the Mage Hand is travelling to push Lens, prepare Substitute and aim for Tav's portrait. While Lens is being pushed, activate Substitute. You should be teleported to a dev room.18 Grab Gortash's Stone from here.
Teleport to South Span of Wyrm's Crossing
Cast Mage Hand19, Invisibility, Enhance Leap, and jump your way straight north until you reach Lower City. You will need a Force Jump to jump through the first bridge.
Orin
Jaheira: Equip Ketheric's Hammer. Put Artifact in action bar. Kill Tav and pick him up.
Enter the manhole two jumps away.
Break the wall with a level 4 Thunderwave. Go to the other broken wall, jump on the wooden platform over the poison cloud, then jump in the safe area and spam Artifact before Yenna appears.
Sneak behind Yenna, pickpocket to put Tav in her inventory then rogueport. Grab Orin's stone in dev room.
Teleport back to Basilisk Gate then do the same path you just did to come back to where Yenna was. Instead of jumping to the wooden platform, you need to Misty Step20 from the broken wall to Orin.
Pick up Tav then pickpocket Orin to put Tav in her inventory to setup another Rogueport.
Select Mage Hand to trigger dialogue with Orin. Let the dialogue play. When she starts saying "There it will be set free", switch to Jaheira and substitute with Tav. You should be teleported to Bhaal's Temple.
Enhance Leap, leave temple. Use Misty Step through the door, reach Temple Waypoint then go to Morphic Pools.
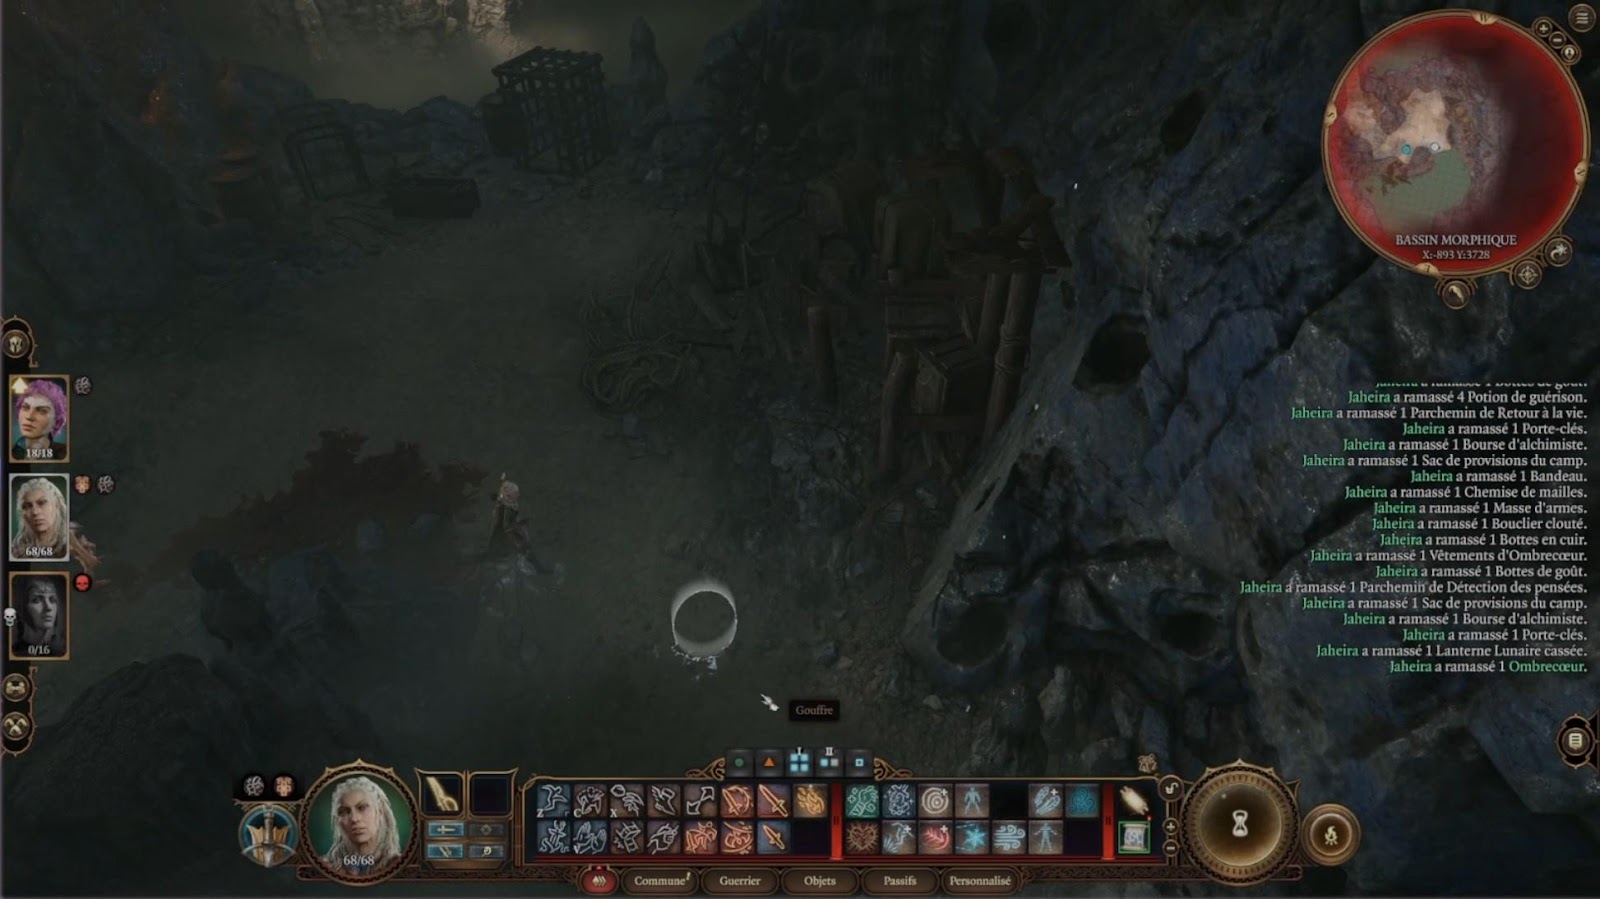
Morphic Pools
Shadowheart: jump into the water.
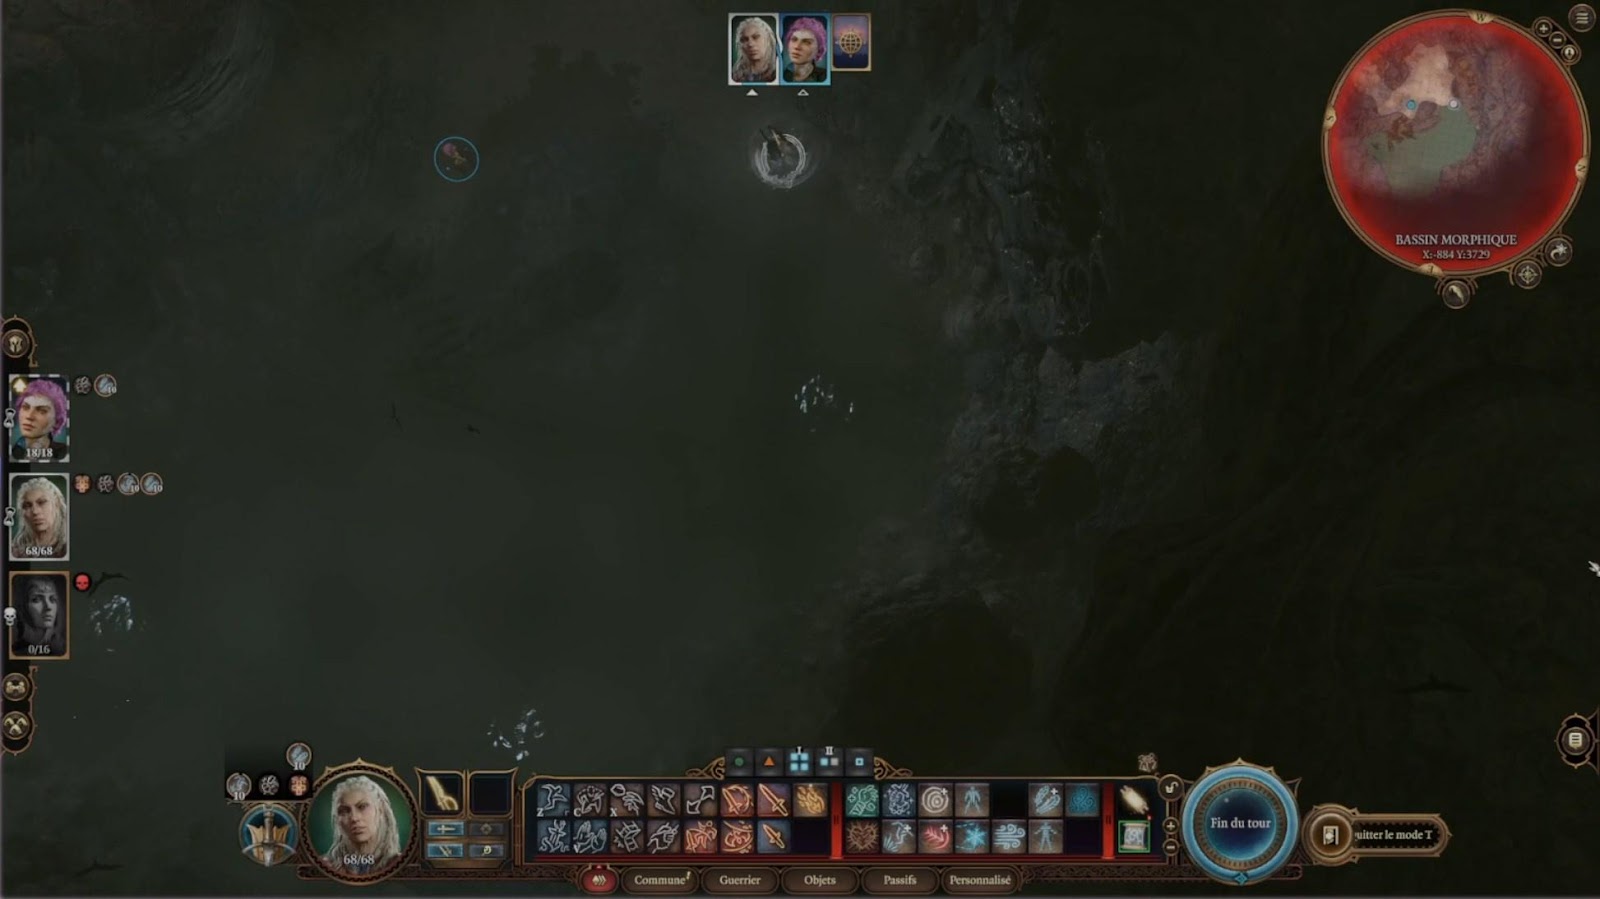
Morphic Pools Skip :
Go to that spot
Buff Enhance Leap
Tactician view, camera fully unzoomed. Jump towards there (where the mouse is) :
Jump to the upper platform :

Jump above the boulder. It is easier to figure out correct positioning without tactical view. You really need to aim between the torch and the bridge, otherwise there is a chance you will trigger the fight against intellect devourers.

Jump towards the brain.
Lae'Zel: Infinite Status on Tav. Use Resurrection Scroll on Tav
Tav: Level up: Prepare Invisibility + Magic Missile.
Cast Invisibility and go to Orpheus.
Talk to Emperor, get turned into a Mind Flayer [3 then 1 - 1], leave the Astral Plane
Endgame
Video of the whole sequence described below
Lae’zel: jump in chasm.
Tav: cast Perilous Stakes 3 times on yourself.
Jaheira: buff Enhance Leap + Feather Fall + Invisibility. Jump your way on the roofs through the courtyard. Watch out for some moving enemies that can detect invisibility. Just wait a bit if they’re on the way.
When behind the Brain Stem, place Jaheira on the rubble to the right, move the camera to the other side of the Brain Stem and you should find a spot where you can jump. Rebuff invisibility.
Tav: cast Perilous Stakes 3 times on yourself21 . Buff invisibility III on Tav + Emperor.
Jaheira: enter the final fight.
Tav: dash, fly to crown, dominate it, skip turns once for Jaheira and Emperor if they have higher initiative than Tav, enter Netherbrain area.
You should still have your 3 stacks of Perilous Stakes. Cast Magic Missile III on Netherbrain22 .
Last cutscene : [2 - 1].
Timer stops when you see the X button at the top right of your screen (credits start)