
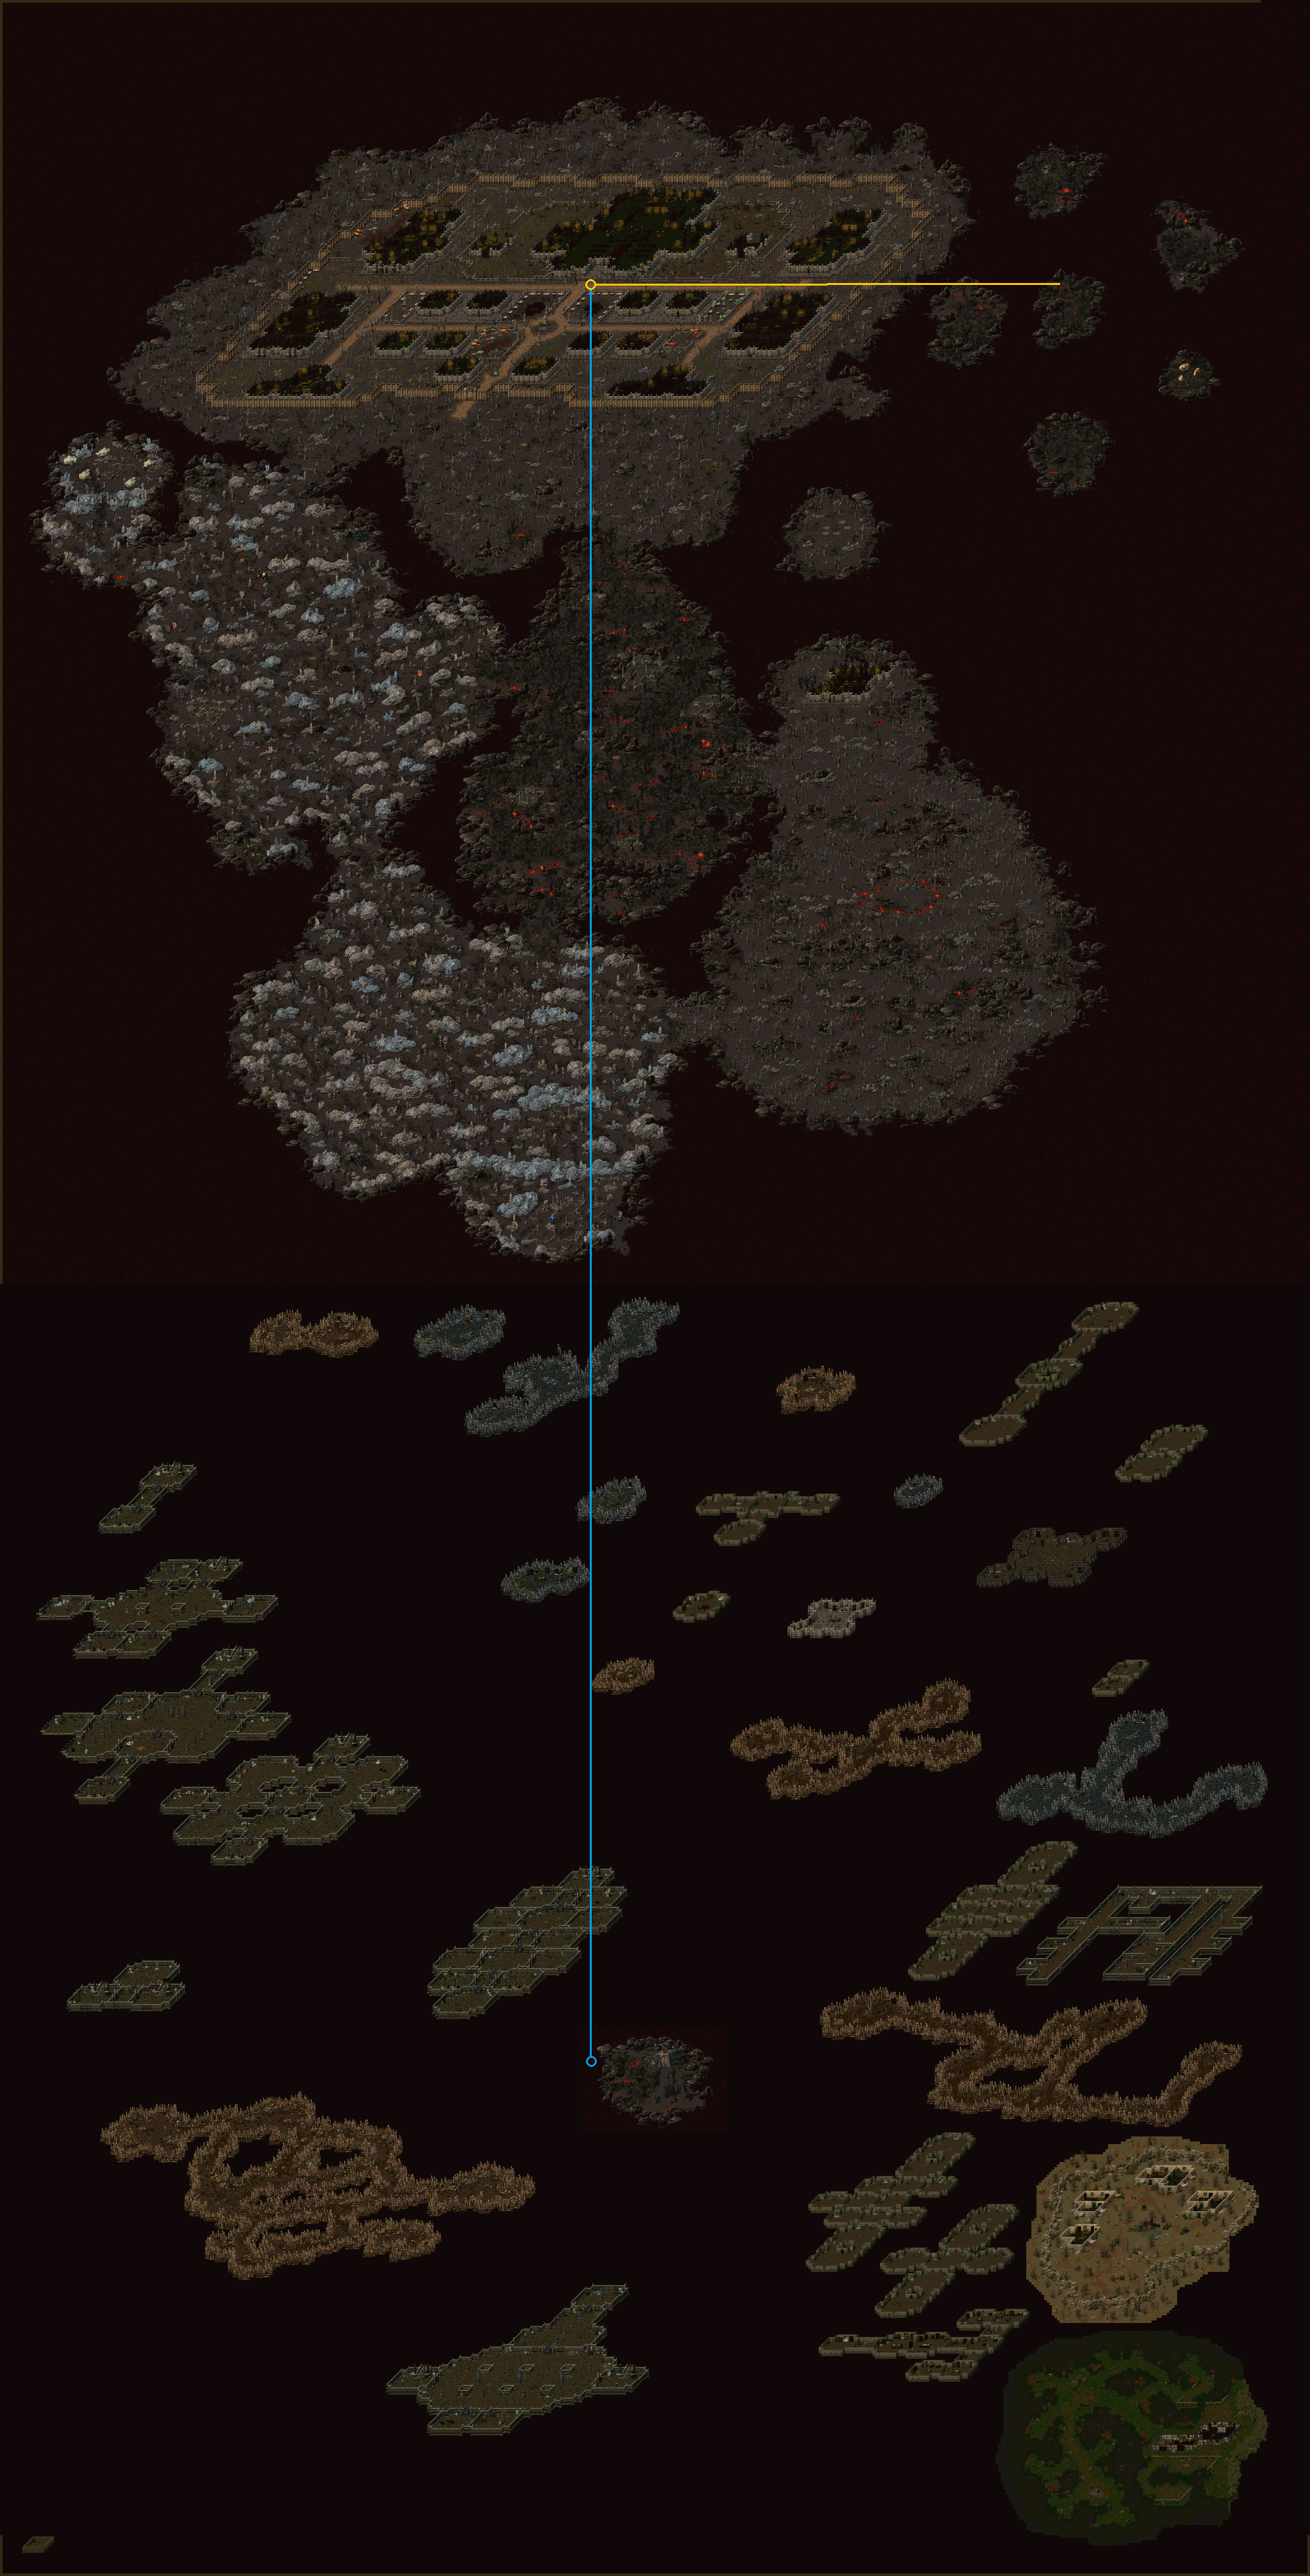
Any%
Character Creation
Main Character
Put five points towards Constitution and dump the rest into Agility.
This character will be more useful for fighting (exactly one guard). Strength increases the damage dealt only by a small margin in the beginning, getting accuracy to consistently hit enemies is more valuable. Later on, damage and health will be boosted by permanent increases.
The class of this char doesn't matter.
Death Knight
Dump all points into Constitution.
This character will be the one tanking and running. Therefore a larger pool of Health and Stamina is most important. Later on, damage and health will be boosted by permanent increases.
The class of this char doesn't matter.
Act I

Give the Death Knight's sword to the Main Character and have him pick up a club next to the dead guard at 1. Also loot the body for the key for the cell at 2.
Run towards the cell at 2 and go down the hole covered with a blanket.
Clip oob and move along the highlighted path for optimal speed. When Stamina runs low use downtime to duplicate the starting potions a few times (48 should be enough).
Clip back inbounds at the end and use the door to finish Act I.
Act II

Make your way towards the prison at 1.
Defeat the guard at the entrance and pick up its key. Run the Main Character towards the room in the north-east corner and free the imp there. Run the Death Knight towards the north-west corner to pick up the key and free the imp in the bottom-left corner.
Exit the prison and be led over the lava lake into the imp village (2).
After the cutscene head north to 3, from where you'll first be teleported to the Necromancer and then to another prison. Instantly clip out of bounds and head south-west. Clip partially inbounds at the top corner of the cave and gain access to the Battlefields and some gold from both chests. Moving should eject you back out, if not clip through another wall. Run north-west towards 4, where Altoflix lives .Trigger his quest and leave his house.
Run The Death Knight north-west towards 5 where you will fall into a cave and gain access to the teleport pyramids. In the meantime run the Main Character back towards the Chieftain's son at 2 to complete a quest. Use the pyramid in the cave to teleport out and pick-up/use the other pyramid to get back inside. Clip out of bounds and throw a pyramid directly south from 6 to 7. Head to the cave nort-east of you to gather the Spider Amulet. Go east towards the outside of the Hermit's cave.
The Hermit's inventory will not have reset at this point, so place the other pyramid and use it to teleport down to 7 (pick up the 2nd pyramid). Put the Main Characters remaining points into Constitution so he won't die to the later mobs and has some time to regenerate Stamina. Clip inbounds to make your way towards 8 in order to collect the Mushroom.
Teleport back north (7) and make your way towards the exit of the Alchemist's cave at 9, place one pyramid for later. Be sure to avoid the upper part of the room to avoid triggering a quest. This would change the items the Hermit has for sale to not include a yellow herb. Run the Main Character towards 10 and pick up the Root, as upon leaving the cellar he will be targeted by the surrounding monsters and can kite them away. Use the Death Knight to enter the Alchemist's cave again, bringing both characters back to 9. Grab the Fruit at 11 next. Use the pyramid to jump back to 7 and talk to the Hermit.
Enter the Battlefield to talk to Annabelle to learn Survival-Extraction and skill it up to level 4. The Hermit takes 6 minutes of time since the start of the act, in which you haven't talked to him to restock his inventory. Enough time shouldhave passed now for him to sell the herbs needed to make permanent potions. The items added to his inventory are random, but since he aleady has the red and blue herb, getting the missing yellow herb is fairly likely. Dupe them up to get 2 red, 2 blue and 1 yellow herb. Completing his quest related to the Spider Amulet will award you with a Holy Water, the final ingredient for permanent potions. Duplicate it once, to get a 2nd one. This makes all the components needed for permanent potions, giving access to a Strength and Health Potion. Duplicating them up to 64 for each character will be enough to beat the last bosses in Act IV.
Talking to the Alchemist two more times will activate a cutscene, which ends up with the characters at 12. Running all the way down to 13 allows ignoring saving the Imp-Seer, picking up the Crystal Fragment will trigger the next cutscene. This one has you running from 14 to 15, entering a well. Defeat the Mutant inside, pick up the Crystal Fragment, then exit and reenter the well, triggering the final cutscene of Act II.
Act III
Duplicate one of the pyramids.
Throw it along the highlighted path to make your way as close to the island as possible. Doing it in one throw is of course doable, but if you don't make it close enoughto see the island, guessing your way in the dark void is difficult.
Before entering the island, dump all of the Death Knight's stat points into Constitution. Kill the Warden to start the finishing sequence.
Act IV
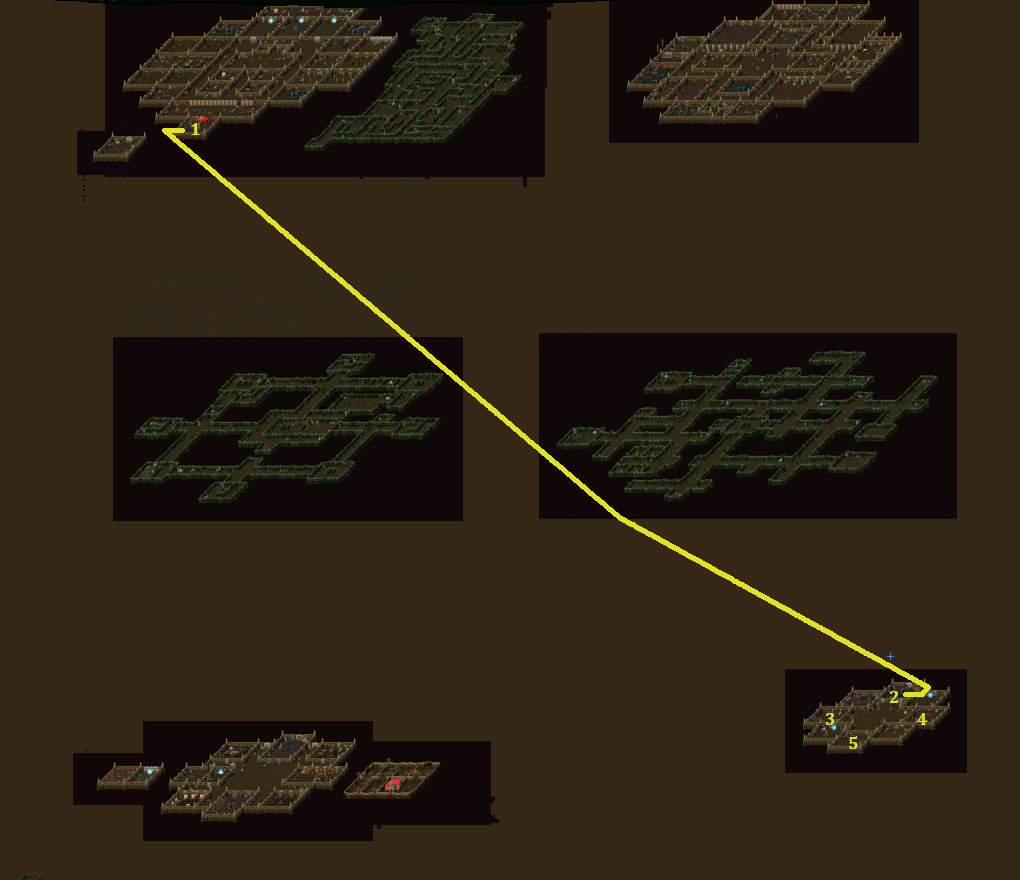
Clip out of bounds and run south-east all the way to 2. Along the way, when stamina gets low, skilling into blunt weapons makes for a more consistent and faster fight., Samuel still hits quite hard.
Clip in bounds and start a dialogue [close].
Head towards 3 and kill Samuel making sure to pick up the rift-wand he drops.
Go east to 4 and talk to the Rift-Instructor [spam 1], learning how to open rifts. Open the first one. Enter and leave it again right away. Talk to the Rift-Instructor [spam 1] again and, after learning how to close rifts, do so.
Go to 5 and talk Anlokar twice [spam 1, then close]. Open the last rift to Rivellon and defeat Damian with your Main Character.